Article Contents [hide]
Homemade Micro worm cultures for guppies
Now it’s great that you have got your guppy reproduction underway, but you now need to think about what you are going to feed all the arriving babies.
Guppies love to eat a variety of different foods, they enjoy live foods that are full of vitamins and nutrition.
Live foods are the best for newborn guppy fry as they help them grow quicker than dry food.
To raise healthy, show quality guppies you need to feed them at least 3 times a day, preferably 5 times.
Is Microworms good for guppy fish?
Microworms are considered the best foods to start with for newly hatched fish fry;
They are also suitable for guppies, bettas, gouramis, tetra, barbs, danios, discus, killifish, and many others.
This may seem like a strict schedule but microworms and other live foods can help take some of this strain;
Surely, you can buy expensive fry foods from a local shop but they are not as good as live micro worms.
Steps to Make your own batch of Micro Worms:
So how do you make up your own batch of micro worms?
Well, in this short article I will explain to you my process on how to make them.
Step 1: Arrange Basic Materials Needed
- Micro worm culture
- You’ll need to get a few live adult micro worms to initiate your culture.
- Plastic container or jar with a tight lid
- At least 12cm x 12cm or 5 by 5 inches in size
- Make a hole or pore in the container for the air inlet.
- Oatmeal
- Acts as the breeding layer for the microworms.
- Activated dry yeast
- Initially, a small amount acts as the main food for the microworms.
- Dropper or Pipette
- For effective suction of microworms for feeding the fry.
- Q-tips or Cotton Swab
- Later used to scoop out the live microworms from the culture.
- Small cups
Step 2: Microworm Culture Setup
You will need is a small tub or jar that you are willing to lose, I suggest using a jam-jar or similar.
You need to punch a small hole in the lid to allow proper airflow inside,
Don’t just leave this as an open hole as flies and other insects will get inside and ruin it.
Put some filter wool inside the hole which will prevent anything from entering the jar.
Step 3: Oatmeal & Microworm Recipe
Now for the micro worm’s recipe, you don’t have to be exact as any quantities work in my experience.
- To initiate your culture, add one-inch cooked oatmeal to the bottom of the jar or container you choose.
- After overnight cooling at room temperature mix the oatmeal with 1 tsp of the active dry yeast.
- Slowly add and mix the microworm culture to the cooked oatmeal – you will soon observe a fermenting smell;
- Let the oatmeal age and microworms feed on the yeast.
- Close the jar lid to prevent flies or insects intrusion, don’t forget to make a hole to let air in and culture live.
- Maintain the culture at about 20-30 degrees Celsius.
- To keep the worm culture alive for a long time, stir it once or twice a week.
I have also tested that the easiest recipe to use is ¼ inch of oatmeal in the bottom of your pot,
then cover the surface of the oatmeal with 1 tsp of dry yeast and finish it off with water and then mix.
Note: You only need a small amount of water and a pinch of yeast to make a thick paste.
Once done, add your micro worm’s starter culture which comes from an existing culture,
You can get good cultures online and if taken care of lasts for years and only cost a couple of dollars.
Simply mix the culture into the paste, put the lid on, and place it in a warm area without sunlight.
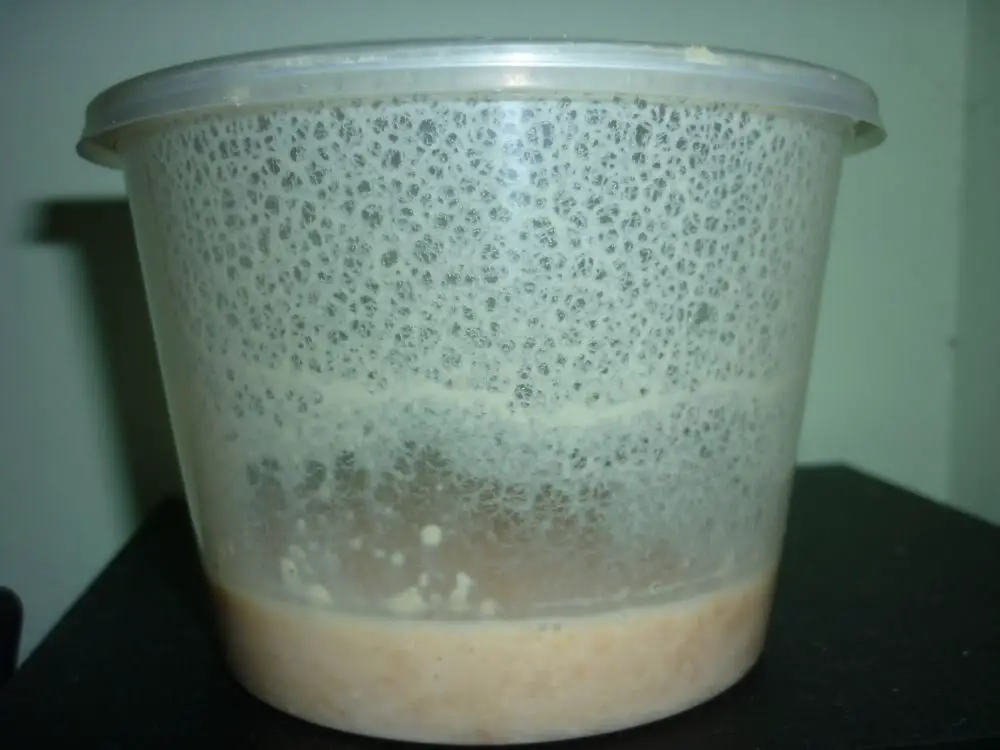
Within 3-4 days your culture will be teaming with micro worms that will be crawling upside of the jar,
it’s a good idea to harvest the worms that are on the walls as these will be free from oats and yeast,
Scrape around the edge and then pop them into your tank, your guppies will eat them as quickly as they can.
Step 4: Feeding Microworms to Fry
- The microworms automatically climb up the sides of the container
- With cotton swabs or Q-tips, take out a small number of microworms.
- Dip Q-tip into chlorine-free water, thus preventing the oatmeal solution’s contact with aquarium water.
- Suck up the microworms by using the dropper (pipette) whichever is available.
- Feed the microworms to fry at the visible and easily accessible locations in the tank.
- Microworms usually die after 48-72 hours in freshwater so remove them during this period.
Step5: Maintenance of Microworm Culture
- Always mix the culture once a week to keep the culture fresh.
- Microworms don’t burrow into the oatmeal on their own, without stirring they simply reside on top of it.
- Always have 2 cultures running simultaneously in separate jars, just in case, one fails, the backup culture is still there.
- If you have a large amount of fry reproducing periodically, it’s best to start a new culture weekly
Step 6: Making Fresh Culture
Start a new culture of worms every 3-4 weeks just in case of a mold outbreak kills them all.
A fresh culture gives a constant supply of healthy live food without having to buy a new one again.
Once your new culture is in full swing, good idea to clean out the old jar and start again.
Take a small number of worms from the newly created culture, this way they are always fresh and never stale.
There you go
I hope that this article clearly gives you an insight into how to make micro worm culture at home,
it’s not rocket science but requires some basic steps and guidelines to replicate the ever-going process
Here are some more that you may like to read How do you set up a breeding tank for guppies?
We're an affiliate! When you purchase something through my affiliate links, I earn a small commission.Thankyou if you use them.